Not long ago, recording a demo meant booking time at a commercial studio, hiring an engineer, and spending money most independent musicians simply did not have. That is no longer the case. Today a musician with a laptop, a decent microphone, and the right approach can produce a demo that sounds polished, professional, and ready to share with the world.
Whether you are working with a few hundred dollars or almost nothing at all, here is how to make the most of what you have and get a recording you are proud of.
Start With the Room, Not the Gear
The single biggest mistake new home recorders make is spending money on expensive equipment before addressing the room they are recording in. A high-end microphone in a bad-sounding room will still give you a bad-sounding recording. Before anything else, listen to your space.
Hard parallel walls create reflections that muddy your recordings. Rooms with carpet, furniture, bookshelves, and soft furnishings absorb those reflections naturally. If you are starting out, record in a bedroom rather than a living room with tile floors and bare walls. A closet full of hanging clothes is one of the best natural recording booths available for vocals.
You do not need to buy acoustic panels right away. Hang blankets on walls, record in corners, put a comforter over yourself and the microphone. It sounds low tech because it is, but it works. The goal at this stage is reducing the sound of the room getting into your recording.
Choose Your Recording Software
Your Digital Audio Workstation, or DAW, is the software where your recording lives. There are excellent free and low cost options that will take you as far as you need to go at the demo stage.
Audacity is free, works on every operating system, and is more than capable for basic recording and editing. GarageBand comes free on every Mac and iPhone and has a surprisingly deep feature set including virtual instruments and amp simulators. Reaper costs sixty dollars for a personal license and is used by professional engineers around the world. Any of these will serve you well.
Resist the temptation to spend money on a premium DAW before you have learned the basics. The most expensive software does not make a better recording. Your technique and your room matter far more than which program you are running.
The Microphone Question
You do need a microphone, and you do need an audio interface to connect it to your computer. But this does not have to be expensive.
For under one hundred dollars, the Audio-Technica AT2020 is a condenser microphone that has appeared on countless professional recordings. Pair it with a Focusrite Scarlett Solo interface, which runs around fifty dollars used, and you have a setup that will capture clean, usable audio for any instrument or vocal.
If your budget is truly zero, a USB microphone like the Blue Snowball eliminates the need for an interface entirely and plugs straight into your computer. It will not give you the same quality as a dedicated condenser and interface setup, but it will get you started and there is no shame in starting where you are.
For instrumentalists recording directly from a keyboard, guitar through an amp modeler, or any line-level source, an audio interface alone is enough to get started. No microphone required.
Record in Sections, Not All at Once
One of the biggest advantages of home recording over live studio sessions is that you are not paying by the hour. Use that to your advantage. Record your parts in sections and build the song layer by layer.
Start with a click track or a simple drum loop to give yourself a rhythmic foundation. Record your main instrument or guide track first. Then layer additional parts on top. Record each element separately so you have full control in the mix. If you make a mistake you can punch in and fix just that section without recording the whole take again.
Mixing on a Budget
Once your tracks are recorded, the mix is where everything comes together. This is also where many home recordings fall apart, not because of bad recording but because of over-processing.
Less is more. The temptation in a home studio is to add effects to everything. Reverb, compression, EQ, delay. Start with nothing and only add what the track genuinely needs. Most of the time a clean recording needs very little to sit well in a mix.
Check your mix on multiple speakers. Listen on your studio monitors if you have them, then on earbuds, then on your phone speaker, then in your car. A mix that translates across all of those is a mix that is working.
Reference tracks help enormously. Find a commercially released song in a similar genre and style, import it into your DAW, and compare your mix to it at matched levels. This quickly reveals where your mix is too dark, too bright, too thin, or too crowded.
When to Bring in Outside Help
Recording and mixing your own music is a skill that takes time to develop. There is no reason to wait until your home setup is perfect before sharing your music. But there is also no rule that says you have to do everything yourself.
Many independent musicians record their own tracks at home and then send them to a mixing engineer online for a professional polish. Freelance mixing engineers on platforms like SoundBetter or Fiverr charge anywhere from fifty to a few hundred dollars per song and can take a home recording to a level that is genuinely competitive with major label releases.
Mastering is a separate step that optimizes your finished mix for streaming platforms and physical release. Online mastering services like LANDR or eMastered offer automated mastering for a few dollars per track. It is not a replacement for a skilled human mastering engineer but it is more than adequate for a demo or an independent EP release.
What a Finished Demo Can Do for You
A well-recorded demo opens doors that a live performance alone cannot. It gives booking agents and venue owners something to evaluate before they see you live. It gives music supervisors something to consider for sync placements. It gives your audience something to connect with on their own time, on their own device, in their own moment.
Independent musicians today are releasing music that competes directly with major label productions, reaching audiences worldwide, and building sustainable careers entirely outside the traditional record label system. The home studio is a large part of how that happens.
The equipment matters far less than most people think. What matters is the commitment to learn the craft, the patience to do the work properly, and the willingness to put something real into the world.
Hear What's Possible
Gary Jobé's latest EP Let's Fly is an example of what independent instrumental music can sound like when an artist brings experience, intention, and care to every note.
Listen to Let's FlyThe Right Gear Makes the Habits Easier
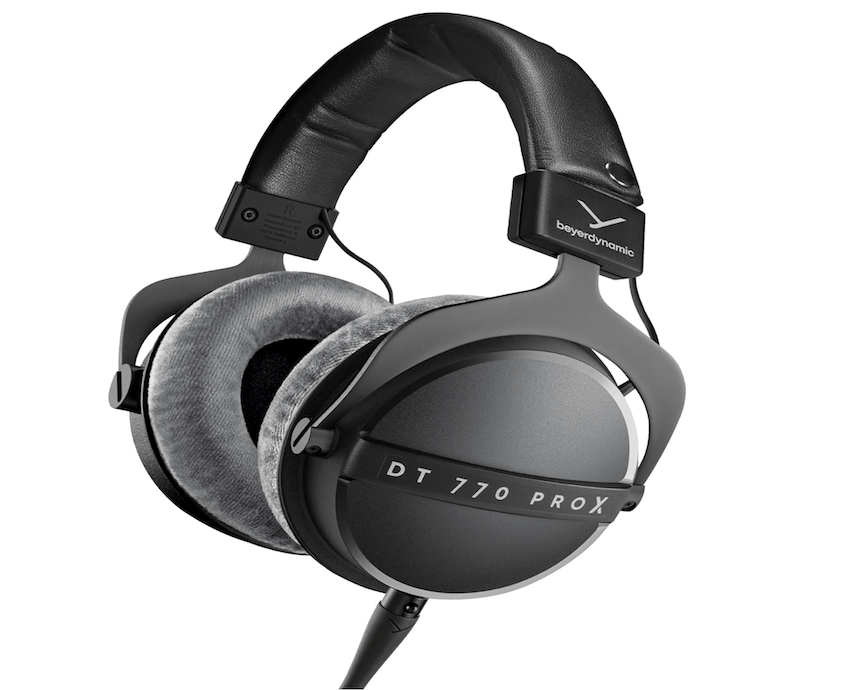
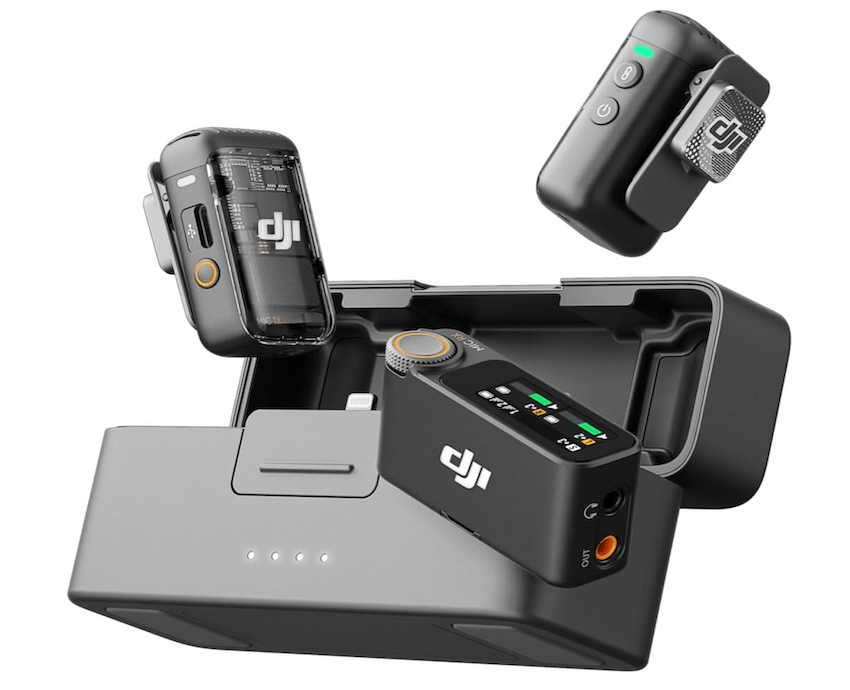
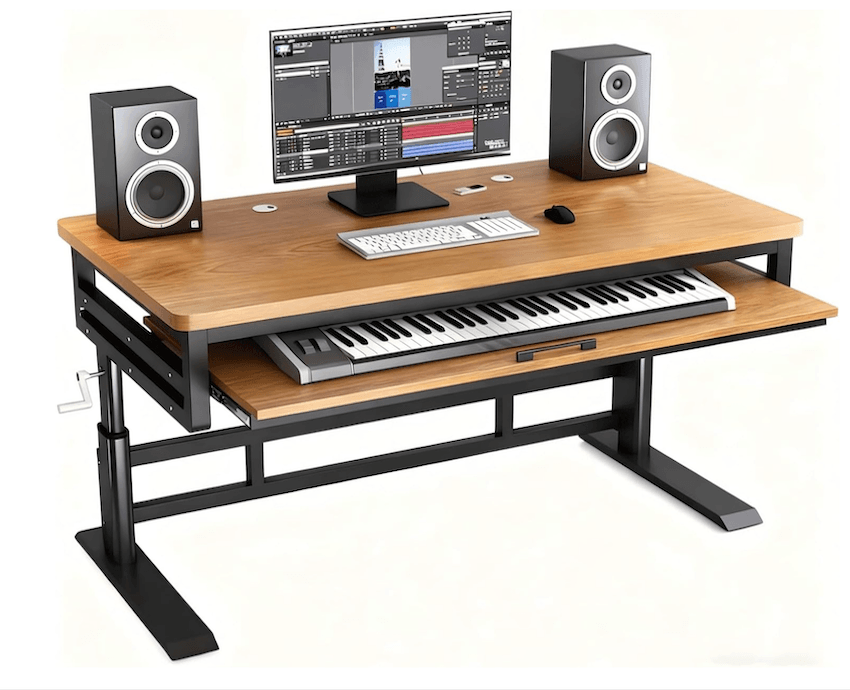
None of this requires expensive equipment, but having the right tools makes the process smoother from session one. A microphone that captures things clearly the first time. Headphones that let you hear exactly what is happening in the mix. A desk built for the way a producer or musician actually works. The gear below is a solid place to start.
Hand picked products that support a home recording setup built for focus and results.
* This page contains affiliate links. If you purchase through these links we may earn a small commission at no extra cost to you. Thank you for supporting independent music.
The best recording is the one that actually gets made. Start where you are, use what you have, and keep going. More from Gary Jobé at gjobe.com